
Studs, Spikes & Chains: A Beginner's Guide to Metal Hardware Style
1. Start With the Base, Not the Studs

Pick Up, Feel the Weight
Real leather belt? Heavy. Real denim jacket? Stiff. If it feels light, it will fail.
Buckle Before Everything
A solid buckle is the single most important part of a belt. Everything else hangs off it.
2. Placement: Where the Rules Actually Live
One Hero Piece
Pick one item to anchor the look. Everything else supports it.
Asymmetry Works
Symmetrical studs look store-bought. Drop one off, double another up — it reads handmade.
3. DIY vs Buy: What to Do Yourself

Rivet-Back Only
Glue-on studs fall off in a season. Sew-on studs tear fabric. Two-prong rivet-back is the only DIY hardware worth buying.
Pre-Drill Leather
Punch a small hole first, then push the rivet through. Trying to force it pops prongs and leaves crooked studs.
Back-Plate Everything
Don't just fold the prongs against the leather — add a small washer or backing plate for anything heavier than a pyramid. Otherwise the prong pulls through under stress.
4. The 5 Hardware Pieces Worth Investing In
5. What to Avoid
Final Word
Shop Official Merch


Foxblood
Foxblood - Kira Studded Black - Girl Shoes - black - EU 39 - Synthetic/Textile/Rubber,Fake Leather


Affiliate links — we earn a commission on qualifying purchases at no extra cost to you.
Follow Us on Pinterest
Music Festival & Band Merch BoardShop the Gear
More from the Studded & Spiked collection
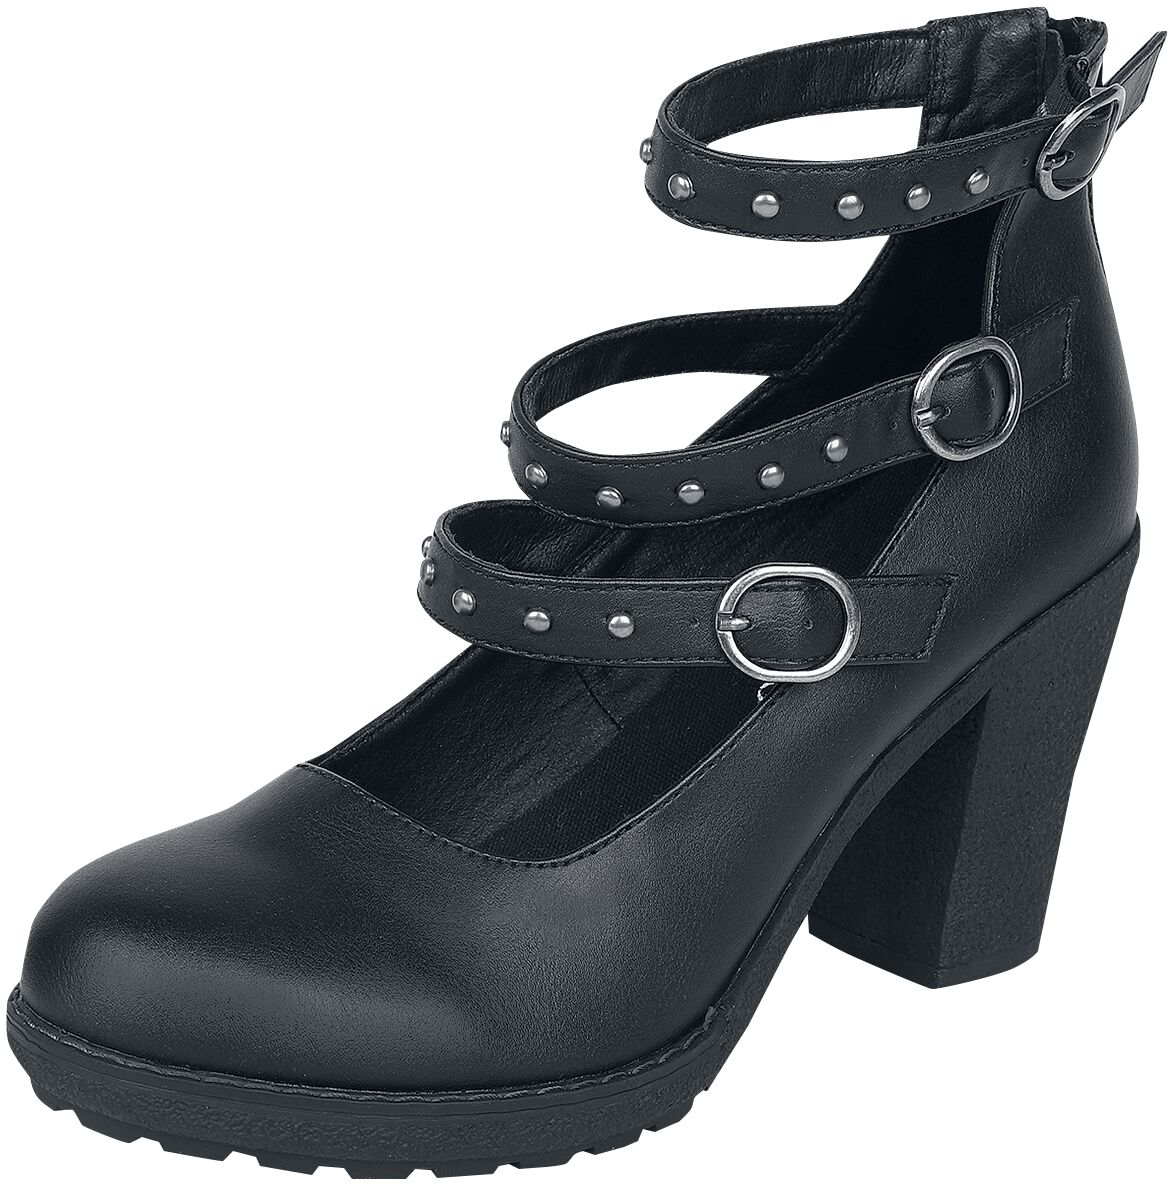
Gothicana by EMP
Gothicana by EMP High heels with straps and rivets High Heel black
£45.99
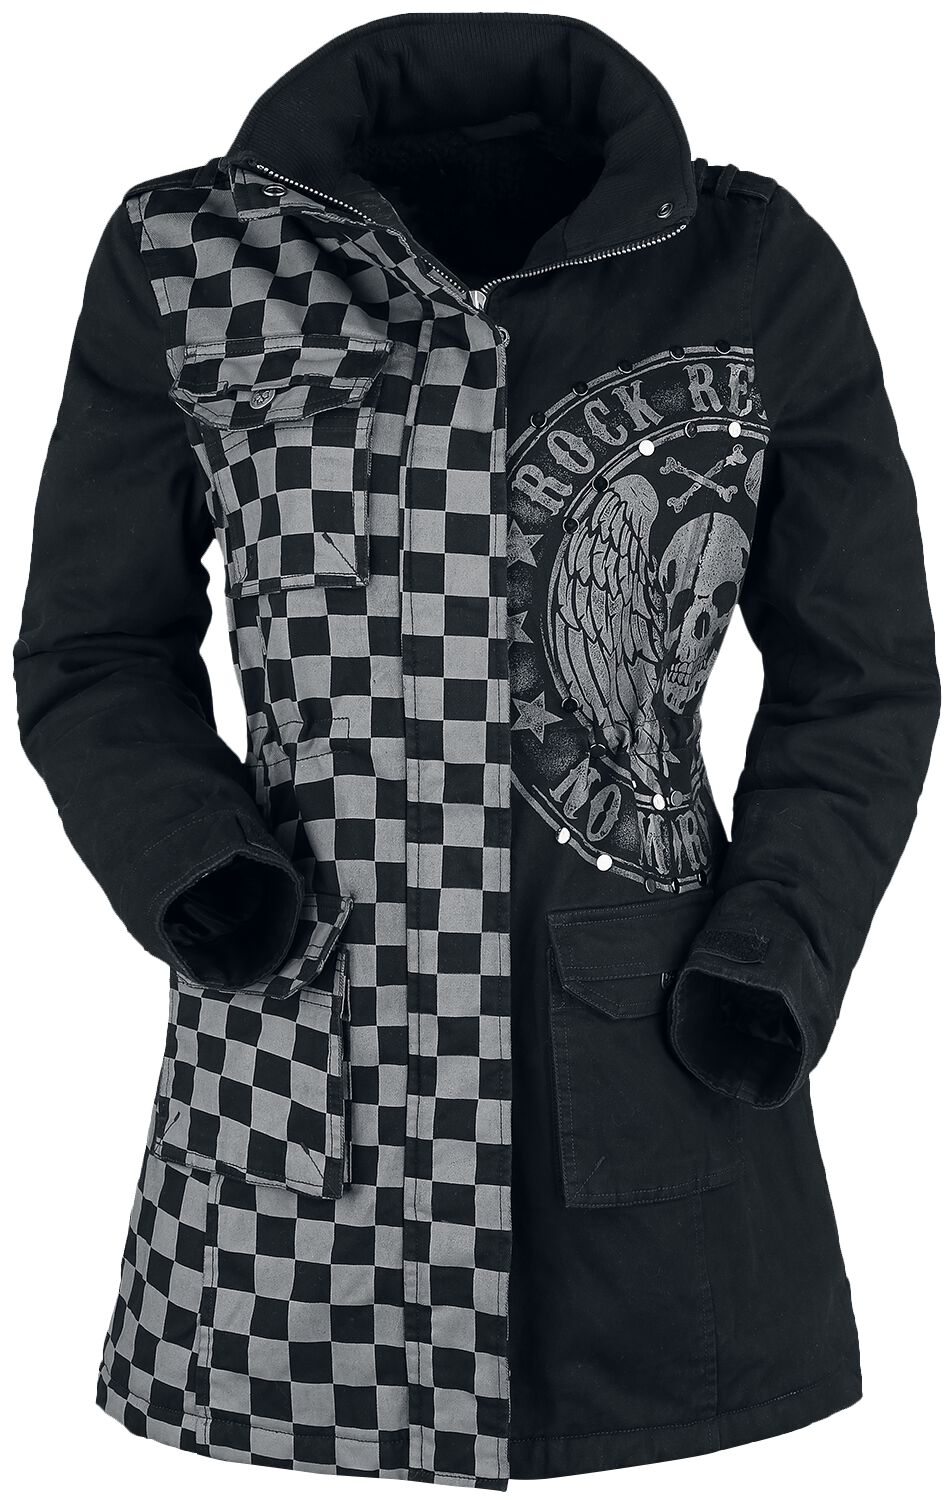
Rock Rebel by EMP
Rock Rebel by EMP Black/Grey Jacket with Studs and Print Winter Jacket grey black
£118.99

Vans
Vans - Authentic Studs Black - Girl Shoes
£89.99

Black Premium by EMP
Black Premium by EMP Vest with pyramid studs Vest black
£36.99

T.U.K.
T.U.K. - Viva High Sole Creep Black Spike N Chain - Girl Shoes - black - EU 39 - Synthetic/Textile/Rubber
£63.99
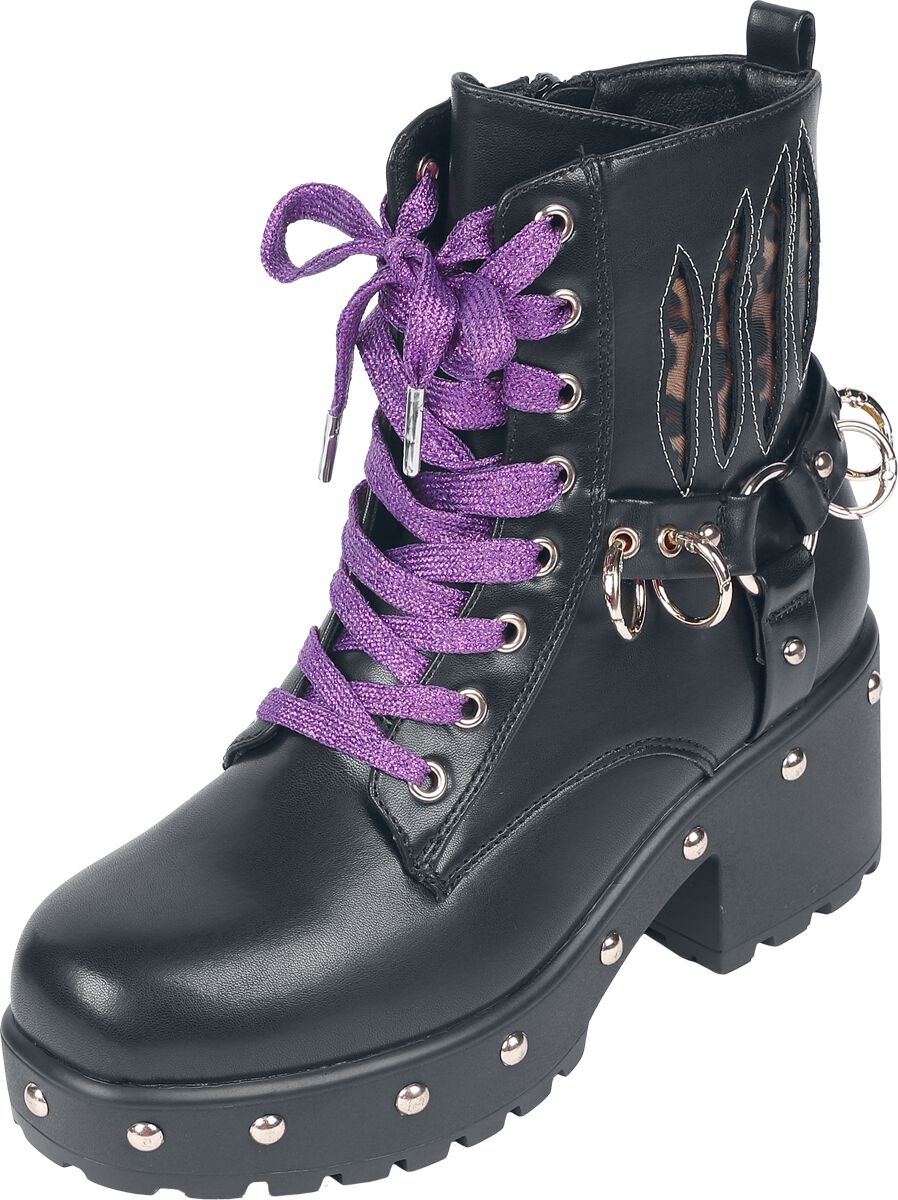
KOI
KOI Monster High - Lucia Werewolf Military Studded Boots Boot black
£86.99
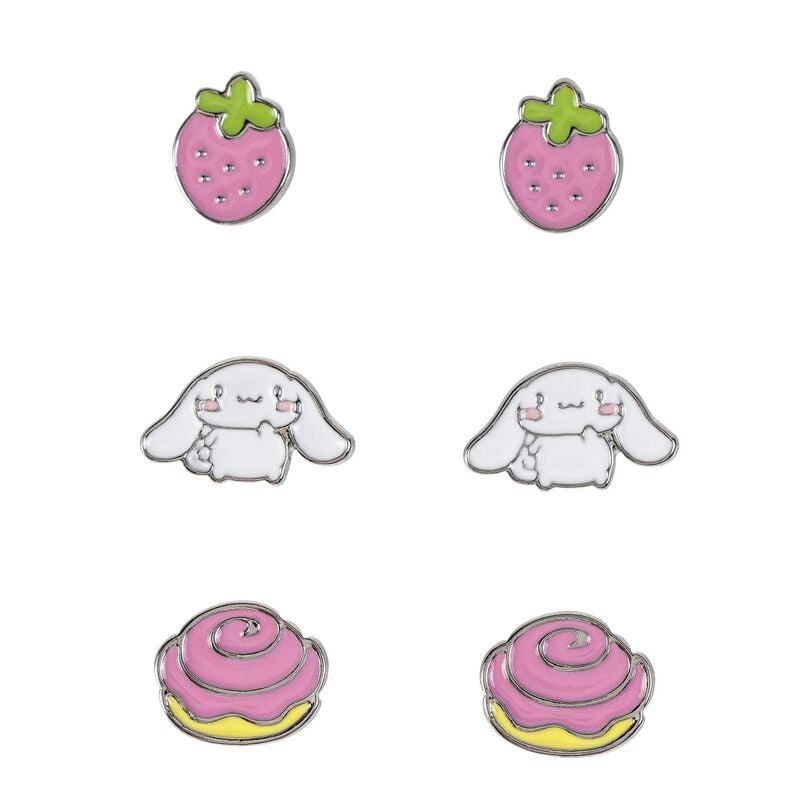
Hello Kitty
Hello Kitty Cinnamoroll Stud Earring Set multicolour
£11.99
Foxblood
Foxblood - Kira Studded Black - Girl Shoes - black - EU 40 - Synthetic/Textile/Rubber,Fake Leather
£150.99

Mary Wyatt
Mary Wyatt - Sabrina Appleskin™ Vegan Leather Studded Mid-Rise Black - Belt
£56.99

Minga London
Minga London - Chained Studded Buckle - Belt
£16.99

Koi Footwear
Koi Footwear - Isolde Studded Chelsea Black - Girl Shoes - black - EU 41 - Synthetic/Textile/Rubber
£28.99

Bullet69
Bullet69 - 2 Row Conical Studded - Belt
£18.99
Share This Article

Branded vertical pin — ready to save & post to your own Pinterest board.
You May Also Like

Heavy Duty Hardware: The Best Belts and Chains for Festival Security
You don't notice weak gear until it fails. One push in the pit, one bad landing, and suddenly your pocket's empty. Wallet gone. Keys gone. Phone halfway out and hanging on luck. There's no I'll find it later at a festival.
Read Article
Battle Vests 101: Where to Buy the Best Quality Denim and Leather Bases
A battle vest isn't built in a clean room. It's built over years of shows, festivals and bad weather. Every patch earns its place. If your base can't take a beating, the whole thing falls apart with it.
Read Article
Wacken Open Air 2027 Lineup: 47 Bands Announced & Where to Shop the Official Gear
W:O:A 2027 is locked in for 28 - 31 July, and 47 bands are already confirmed - Five Finger Death Punch, an exclusive Helloween anniversary show, and a bill stacked from top to bottom. Here's who's in, and where to grab the official gear before the queues form.
Read Article